The spice drawer is one of the smallest organizing projects in a kitchen, and it might be the one that delivers the biggest daily payoff. I say that after fifteen years of walking into other people's kitchens, opening the spice cabinet or the junk drawer where the spices have ended up, and watching clients spend two or three minutes rooting around for cumin every single time they cook. When I started installing the LYNK PROFESSIONAL Spice Drawer Organizer as my default recommendation for this problem, the feedback from clients was immediate and consistent: they actually cooked more, because the friction was gone. The four-tier heavy-gauge steel rack holds jars at a slight angle so every label faces up and every jar is visible in a single glance. That sounds small. It is not small.
This guide walks through my complete spice drawer setup process, from the purge all the way through to the labeling and maintenance habit that keeps the system working a year later. Each step has a reason behind it. If you skip the early steps and just drop a rack into the drawer, you will end up with the same chaos, just in a tiered container. The order matters. Read through once before you start, then come back and work step by step. You will need about ninety minutes the first time, and about five minutes once a season after that.
Before You Start: Grab the Rack That Makes This Work
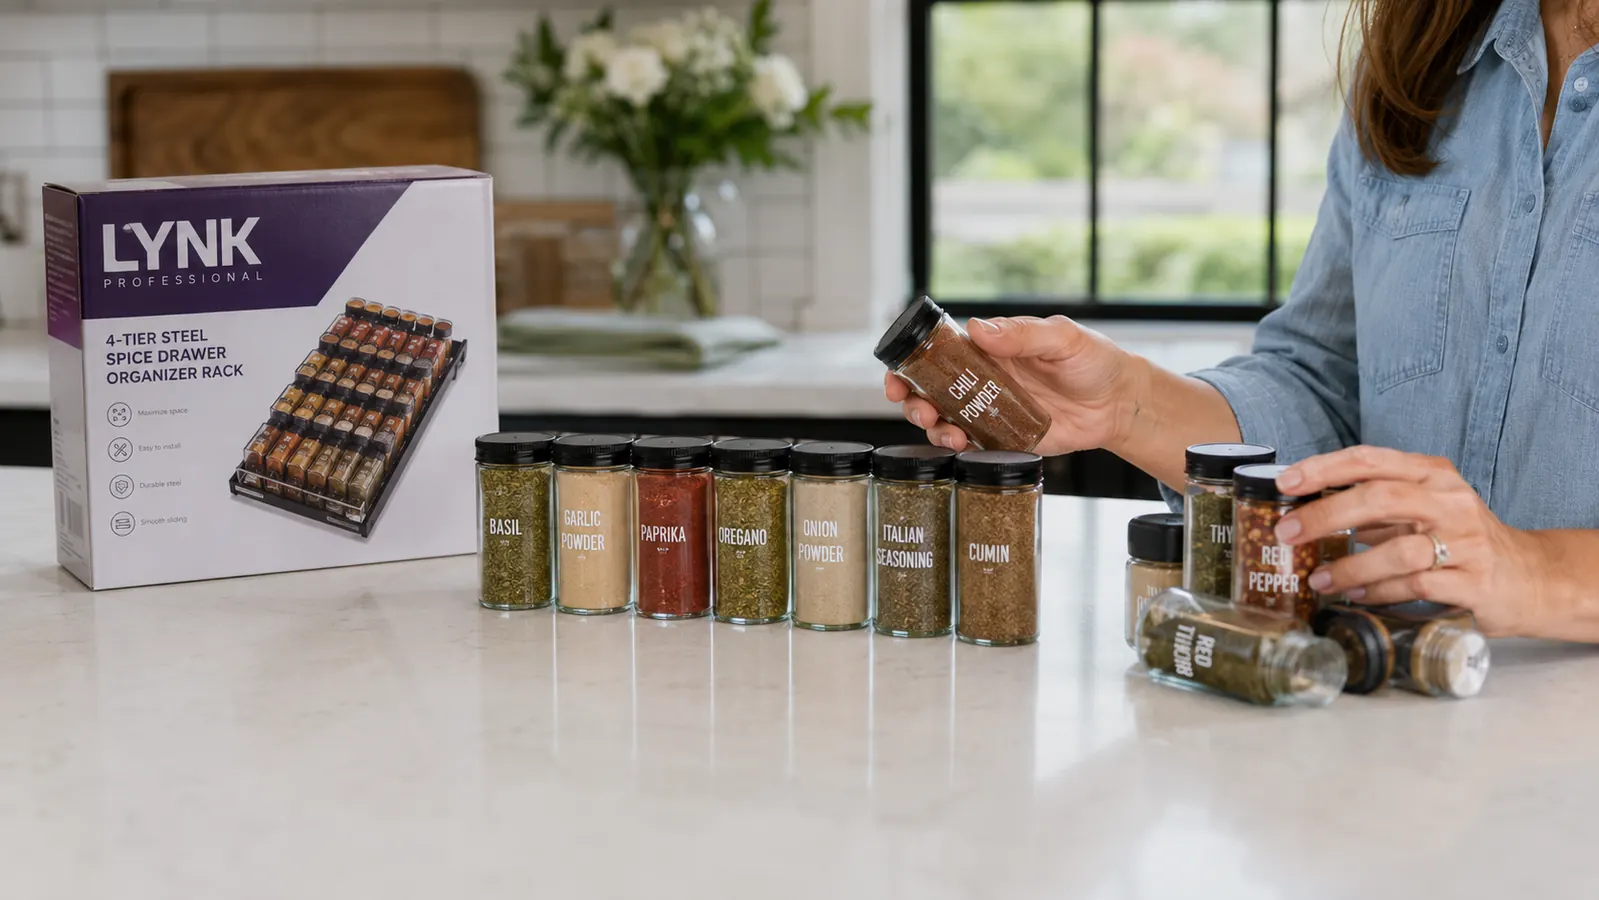
The LYNK PROFESSIONAL Spice Drawer Organizer is the tool this whole method is built around. Four tiers of heavy-gauge steel hold jars at a slight forward angle so every label is visible from above. It fits most standard kitchen drawers and holds up to daily use without bending or sliding. Check today's price and confirm the dimensions before you measure your drawer in Step 2.
Amazon Check Today's Price on Amazon →Step 1: Pull Everything Out and Purge
Start by removing every spice from wherever it lives right now. If spices are currently spread across a cabinet, a drawer, a magnetic strip on the refrigerator, and a basket on the counter, pull all of them together into one place. A cleared kitchen counter works well. You want to see the full inventory before you make a single decision about what goes in the drawer.
Once everything is out, go through each jar and check two things: the expiration date and the smell. Spices do not go bad in a way that makes you sick, but they do go flat. A jar of smoked paprika that has been sitting in a cabinet since 2021 is not adding anything to your food. Open it and smell it. If there is almost no aroma, it is gone. The rule I use with clients is this: if you would not hand it to someone at a farmers market as a fresh product, toss it. Most households discover they have been cooking with three to six near-empty or dead jars that have been quietly taking up space.
Also pull out duplicates. It is extremely common to find two or three jars of garlic powder or Italian seasoning because the original got buried and someone bought a replacement. Consolidate where you can, discard the extra empty or nearly empty jar, and note what you are actually low on so you can restock after the system is in place. This purge step alone usually reduces a spice collection by twenty to thirty percent, which makes the next steps much easier.
Step 2: Measure Your Drawer and Count Your Jars
Before you order the LYNK PROFESSIONAL rack or before you pull it out of the box if you already have it, measure the interior of your spice drawer. Measure the width and the depth of the inside floor, not the outside of the cabinet face. The LYNK rack is designed to fit most standard kitchen drawers, but there are two situations that catch people off guard: very shallow drawers (under about 16 inches deep) and very narrow drawers (under about 15 inches wide). If your drawer is on the smaller end, check the product dimensions on the listing before placing the rack.
While you have a tape measure in hand, also check the depth of the drawer itself from the bottom to the top rail. The LYNK rack plus a typical spice jar need somewhere between three and four inches of vertical clearance to close properly. Most standard kitchen drawers have that clearance, but drawers with a false front or a particularly thick base can be tighter than they look. The quick test: hold a jar upright in the drawer and close it. If it closes without catching, you have the clearance.
Count your remaining spices after the purge. The four-tier LYNK rack holds roughly thirty to forty jars depending on jar size. If you have more than forty spices after purging, it is worth asking whether they all belong in the drawer or whether a small secondary container makes sense for the rarely used ones. I generally recommend keeping daily cooking spices in the drawer and storing specialty or seasonal spices in a labeled bin in the pantry. A drawer that is only seventy or eighty percent full is easier to maintain than one that is packed to capacity.
Step 3: Place the Rack and Understand How the Tiers Work
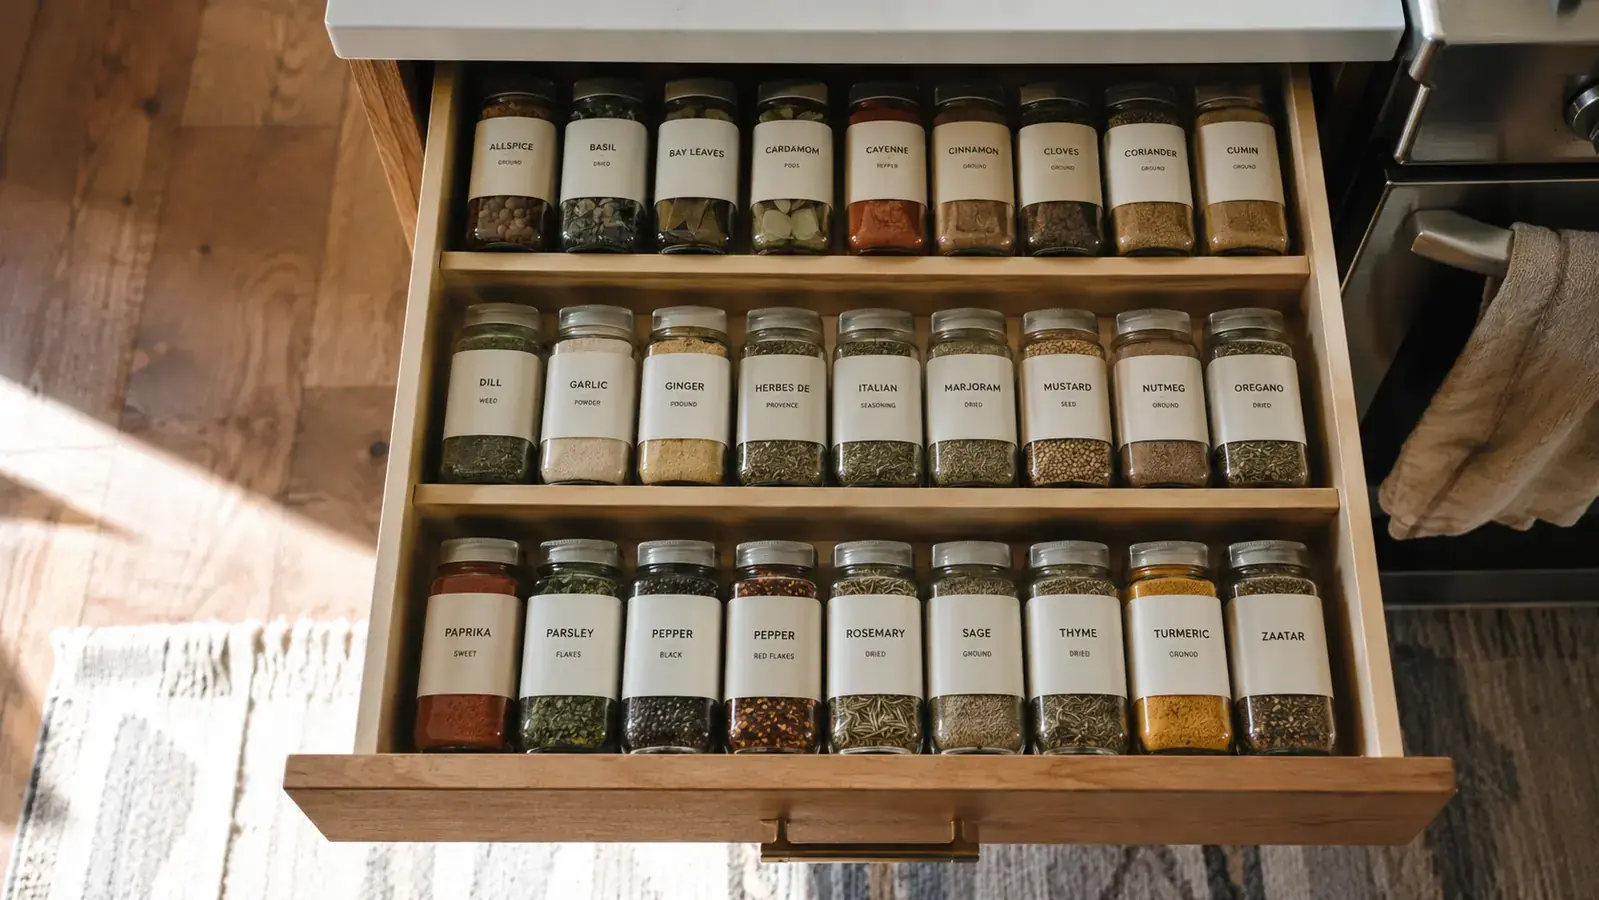
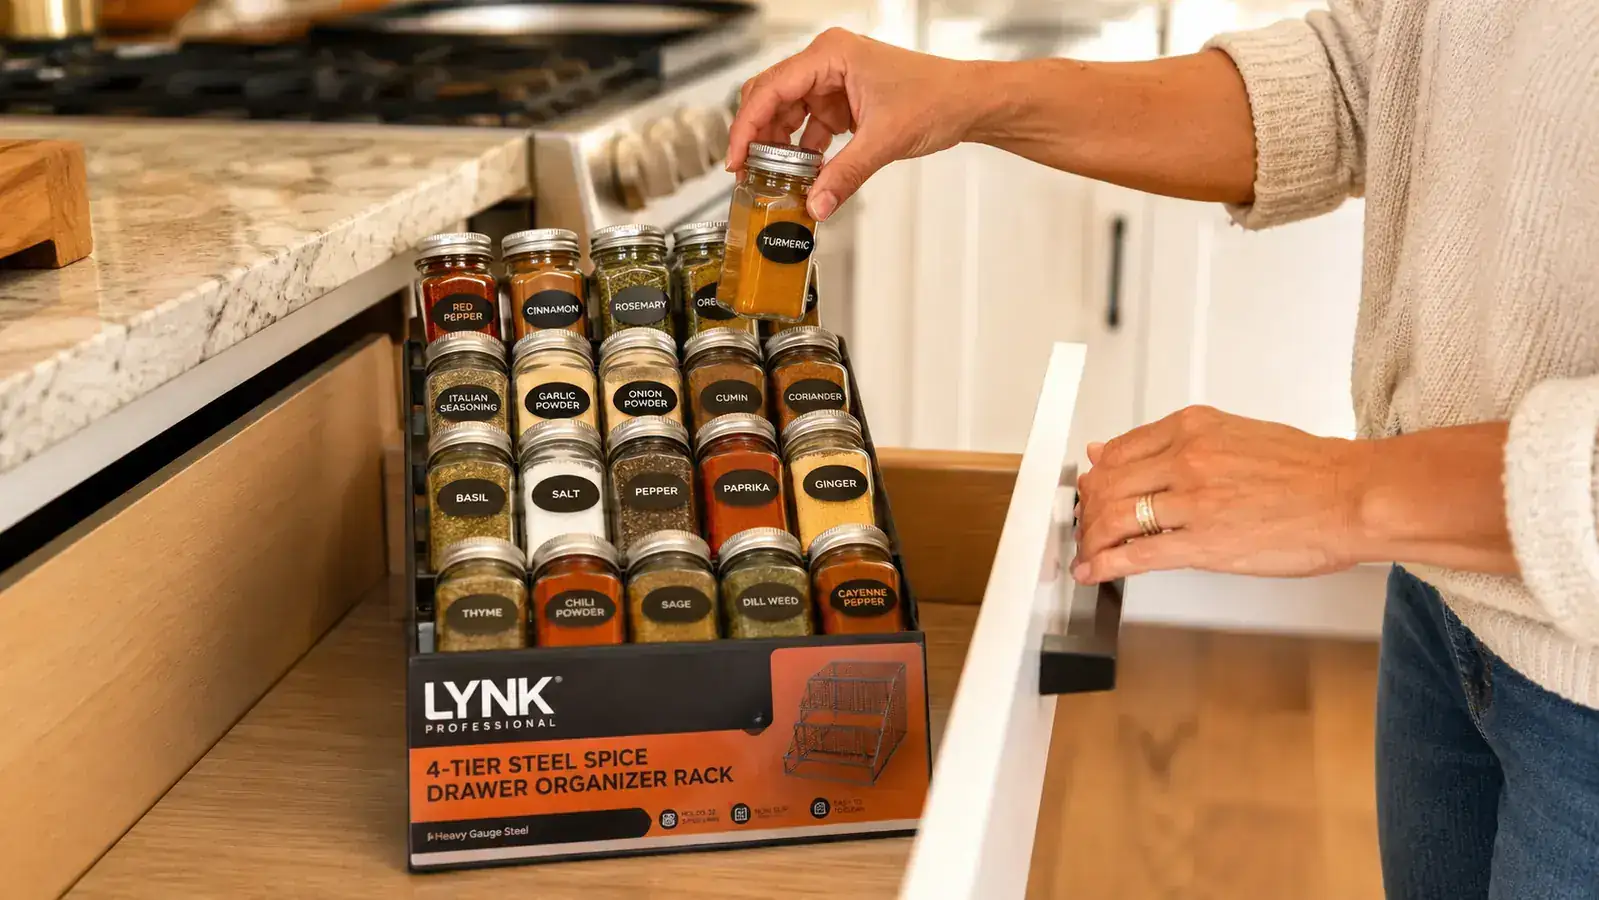
Set the LYNK PROFESSIONAL rack into the drawer and orient it so the highest tier is at the back and the lowest tier is at the front. The angled design means that when you look down into the drawer, the jars on each tier are slightly tilted toward you, making the labels visible. This is the core function of a tiered spice rack: it removes the problem of jars hiding behind other jars. If you have ever had to pick up and move three jars to find the one you needed, you know exactly what that problem costs you every single time you cook.
The steel construction is worth noting because it is what makes this rack a different category of product from the clear acrylic alternatives. I have had clients with acrylic spice inserts that cracked when a heavy jar dropped into them, warped over time in a warm kitchen, or flexed enough to tip jars sideways. The LYNK rack does not flex. The tiers have a slight lip that keeps jars from sliding when the drawer is opened quickly. Over eight months of client installs, I have not had a single complaint about a jar tipping or the rack moving around. That stability is what makes the system low maintenance.
If your drawer is wider than the rack, you can leave the extra space to one side or place a small secondary container alongside the rack for odd-sized jars, spice packets, or jar lids that do not fit in a standard spot. Do not try to wedge the rack from side to side or prop it to fill the space. The rack works best sitting flat and steady on the drawer bottom. A small piece of non-slip shelf liner under the rack is optional but adds stability in drawers that close with some force.
Step 4: Sort Your Spices Before You Place Them
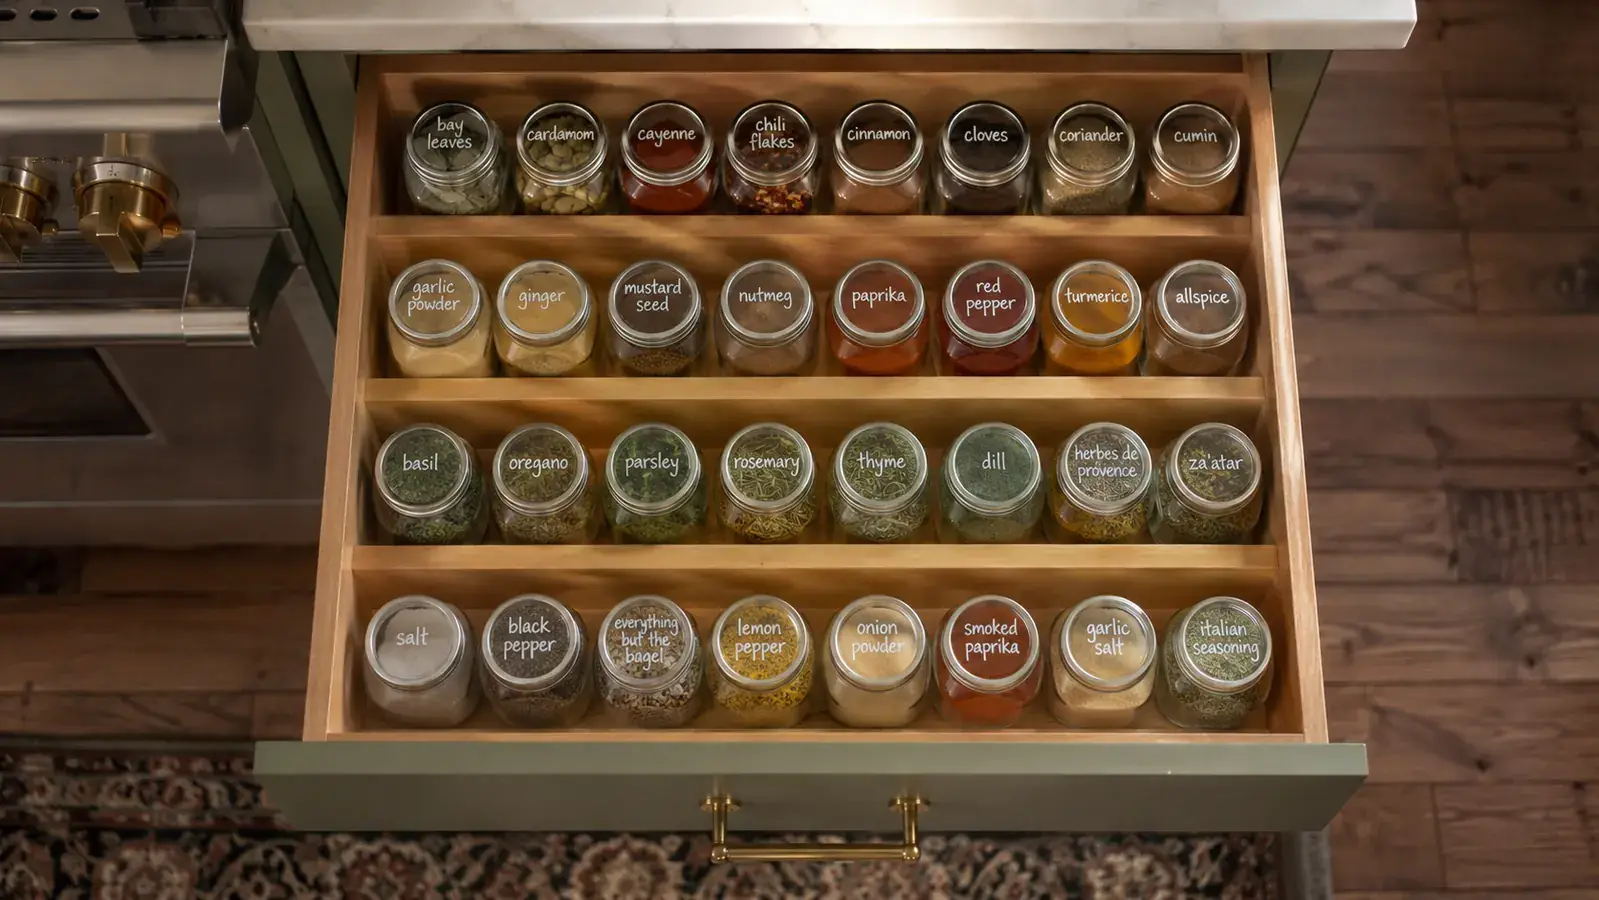
Do not place spices into the rack in whatever order you pick them up. Take two minutes to sort them into rough groups first, then place the groups. The sorting method I recommend to every client is by cooking category, not by alphabet. Alphabetical feels tidy but means your cinnamon, cumin, and curry powder are all clustered together even though they are used in completely different dishes. Cooking-category grouping puts the everyday baking spices together, the everyday savory spices together, the heat and smoke spices together, and the occasional specialty spices together. You pull from the right zone automatically because the grouping matches the way you actually cook.
Within each group, place the most-used jars at the front tiers and the least-used at the back. The front tiers are the most accessible reach, and you want your garlic powder, onion powder, and black pepper right there. The back tiers are for the things you use monthly or seasonally. This takes about five minutes to set up and saves you seconds every single day, which sounds trivial until you realize you open that drawer twice a day when you cook.
One placement detail that clients often miss: keep jars of the same height on the same tier when possible. The LYNK rack's tiers are sized for standard 1.5 to 4-ounce spice jars. If you mix in a very tall jar of, say, a large celery salt, it can interfere with the jars on the tier behind it. Tall or odd jars work best on the back tier where they have clearance, or on the side of the drawer next to the rack rather than on the rack itself.
Step 5: Label Every Jar and Set a Seasonal Check-In
If your spice jars are brand-name with clear printed labels, you may not need to do much here beyond making sure labels face up on the angled tiers. But if you have decanted spices into uniform jars, or if you have any jars where the label has worn off, label them now. The single biggest reason a spice drawer system falls apart within three months is unlabeled jars. Someone picks up a mystery jar, smells it, puts it back in the wrong spot, and the grouping logic quietly dissolves. A simple label maker or even a strip of masking tape and a marker works perfectly. Legibility matters more than aesthetics.
Schedule a quarterly spice check. Put it on your calendar right now, literally. Four times a year, pull the rack out, check for expired jars, note what is running low, wipe down the rack with a damp cloth, and put everything back. The whole process takes less than ten minutes once the system is established. Clients who do the quarterly check have systems that are still working a year or two later. Clients who skip it gradually develop a drawer that looks organized but has three dead jars and a mystery powder in the back tier that nobody claims.
The labeling step is also when I ask clients to photograph the finished drawer from above. Store the photo in your phone. When you are at the grocery store and cannot remember if you are out of smoked paprika, you pull up the photo and check. It sounds like a small trick, and it is, but it stops the duplicate-buying cycle that fills a spice drawer back up with extras within six months.
What Else Helps
A tiered rack handles the core problem of visibility and access, but a couple of complementary habits extend the system. First, stop buying spices in bulk containers if they will not fit in the drawer. The giant jar of garlic powder from the warehouse store seems like a deal until it takes up the space of five regular jars and has to live on a counter or in a cabinet where you cannot see it. Regular-size jars are easier to manage and are usually closer to fresh when you buy them. Second, if you are decanting spices into uniform jars for a cleaner look, use a consistent jar size and brand. Mixing jar heights and widths defeats the purpose of a tiered rack. Third, one drawer should hold spices and nothing else. The moment you start storing rubber bands, twist ties, or random batteries in the same drawer, the system becomes a shared junk space again. The drawer is for spices only. That boundary is what makes it permanent.
The spice drawer is the one project where clients call me three months later and say they cannot believe they cooked without it. The difference between rooting around for cumin and seeing every jar in one glance is not a small thing. It is the friction that was making cooking feel harder than it needed to be.
Ready to Set Up the Spice Drawer? Start With the Right Rack.
The LYNK PROFESSIONAL Spice Drawer Organizer is the tool I go back to every time. Heavy-gauge steel, four tiers, fits most standard drawers, and holds up through years of daily cooking. See today's price on Amazon and check it against your drawer measurements before ordering.
Amazon Check Today's Price on Amazon →