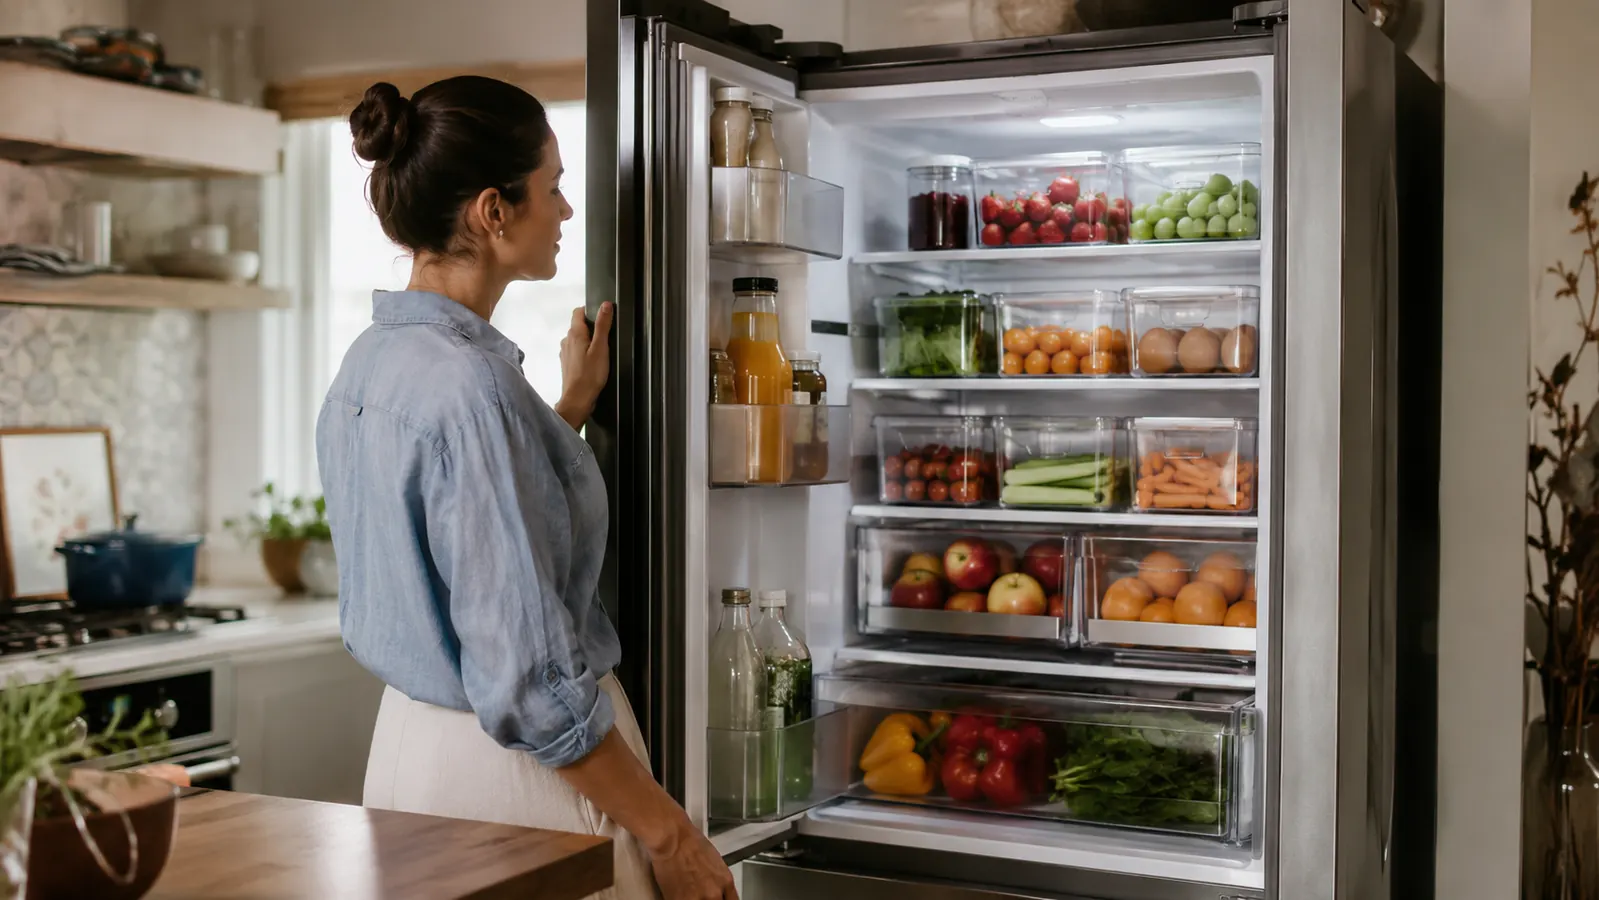
Most refrigerators I walk into are not actually disorganized. They are just un-zoned. Everything got put away, but nothing has a permanent address, so the moment groceries arrive the whole system collapses into a pile. The result is a drawer full of mystery containers, a bottom shelf with a week-old lemon rolling around, and produce going bad in the back while you buy duplicates at the store.
The fix I reach for first in every client kitchen is a set of clear refrigerator bins. Specifically, I have used the Utopia Home fridge bins in client after client's refrigerator over the past several years, and they are the reason I can walk families through a setup in a single afternoon that holds up for months without any reinforcing. The bins create physical containers for each zone, and physical containers are the one thing that actually makes a zone stick. When the snack bin is full, people see it is full. They do not pile things beside it. The system maintains itself because the structure is visible.
Your fridge bins are waiting -- and your grocery budget will notice the difference.
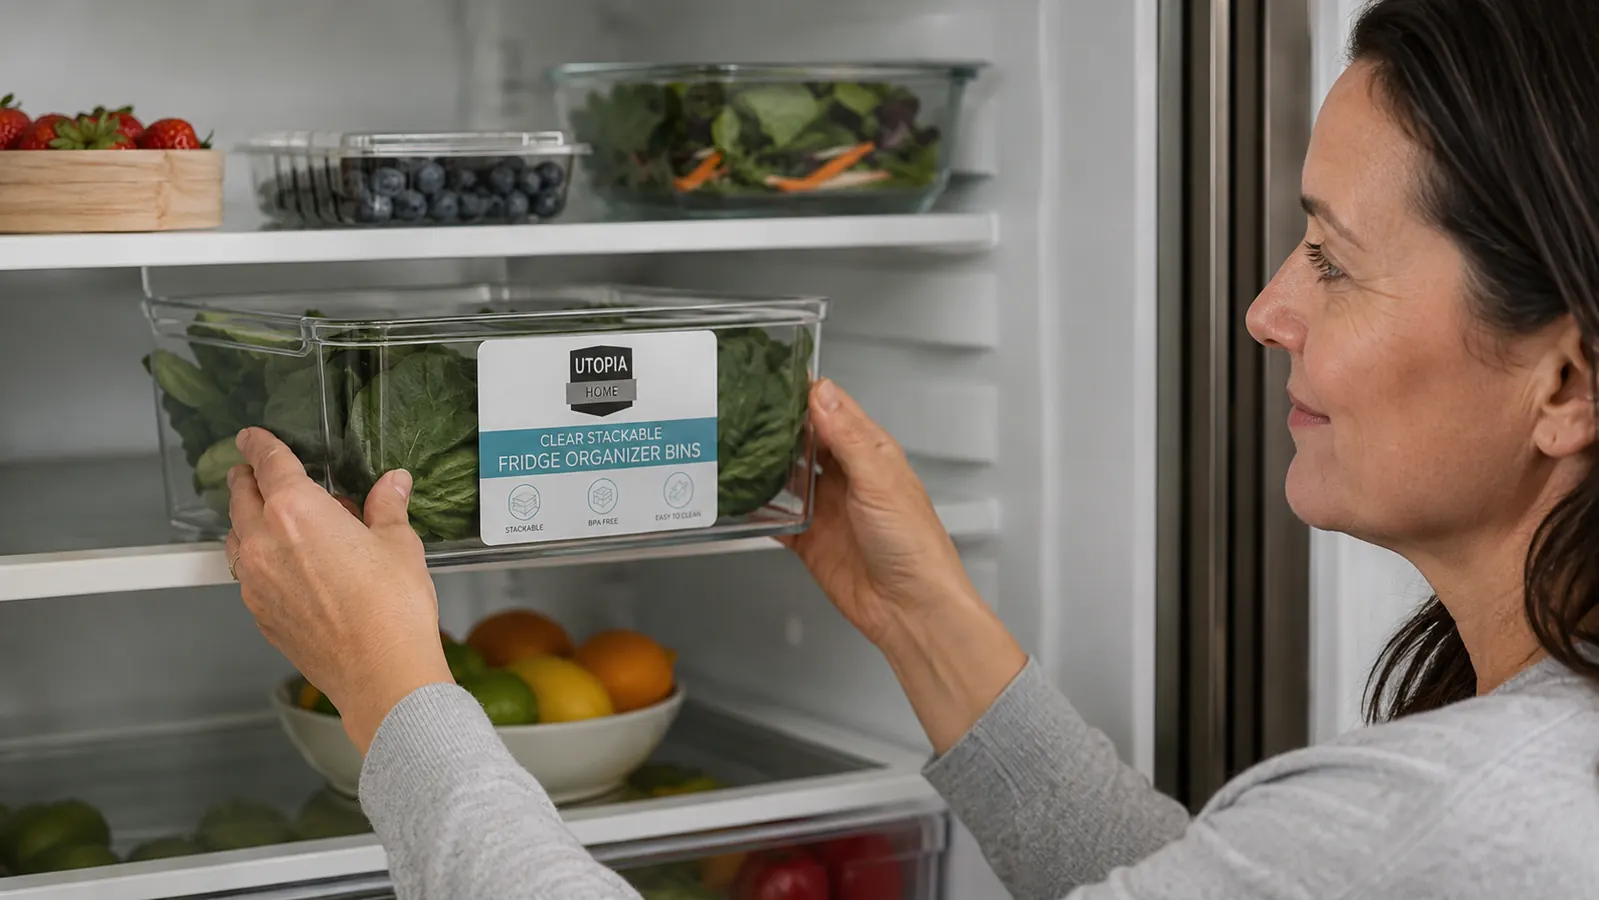
The Utopia Home 8-pack clear fridge organizer bins are what I set up in client kitchens first. Stackable, easy to pull out, and sized to fit most standard refrigerator shelves.
Amazon Check Today's Price on Amazon -> →Before I walk you through the steps, one expectation to set: this process takes about 90 minutes the first time. Most of that time is the initial empty-and-wipe phase and the decision-making about what stays. The actual bin setup takes maybe 20 minutes once you know your zones. If you have been putting this off because it felt like a big project, 90 minutes is the real number. That is it.
Step 1: Empty the Refrigerator Completely
I mean completely. Everything comes out, including the shelves and drawers if they are removable. Set everything on the counter or a table so you can see the full inventory at once. I bring a trash bag to the job specifically for this step, because every client I have ever worked with has at least one expired item, one mystery jar they cannot identify, and one container of leftovers that has passed the point of no return. Getting rid of those things before you organize is what makes the space feel like it opened up.
While the fridge is empty, wipe every surface down with warm water and a mild cleaner. Pay attention to the shelf edges and the door gasket, where drips collect. You do not need a special product. A clean fridge surface is simply the base you are working from, and food smells become much less of an issue once the surface itself is clean. Let it air dry while you sort through what you pulled out.
As you work through the items on the counter, sort them into rough categories: dairy and eggs, produce, proteins, drinks and condiments, leftovers and prepped food, snacks and grab-and-go items. This is not a formal sort. Just groupings on the counter. The goal is to see how much you actually have in each category so you can decide how many bins you need for each zone when you set up.
Step 2: Measure Your Shelves and Match Bin Sizes
This is the step people skip and then regret. Refrigerator shelf depths and widths vary significantly. The Utopia Home fridge bins come in an 8-pack with two sizes in the set, which covers most standard configurations, but you still want to measure your shelf depth before you pull everything out of the packaging. Most standard refrigerators have 19 to 22 inches of depth on the main shelves. The bins are designed with that range in mind, but a side-by-side or a counter-depth fridge may run shallower.
Width matters even more than depth. Measure the usable shelf width and think in pairs. On a 30-inch shelf, two medium refrigerator bins side by side leaves room for a tall item or a bottle. On a 24-inch shelf, you may prefer one wider bin per shelf so you still have open access. I usually do a quick dry-run before committing: set the empty bins on the shelf, see how they fit, and move them around before anything goes back inside. Ten minutes of planning here saves the frustration of re-sorting twice.
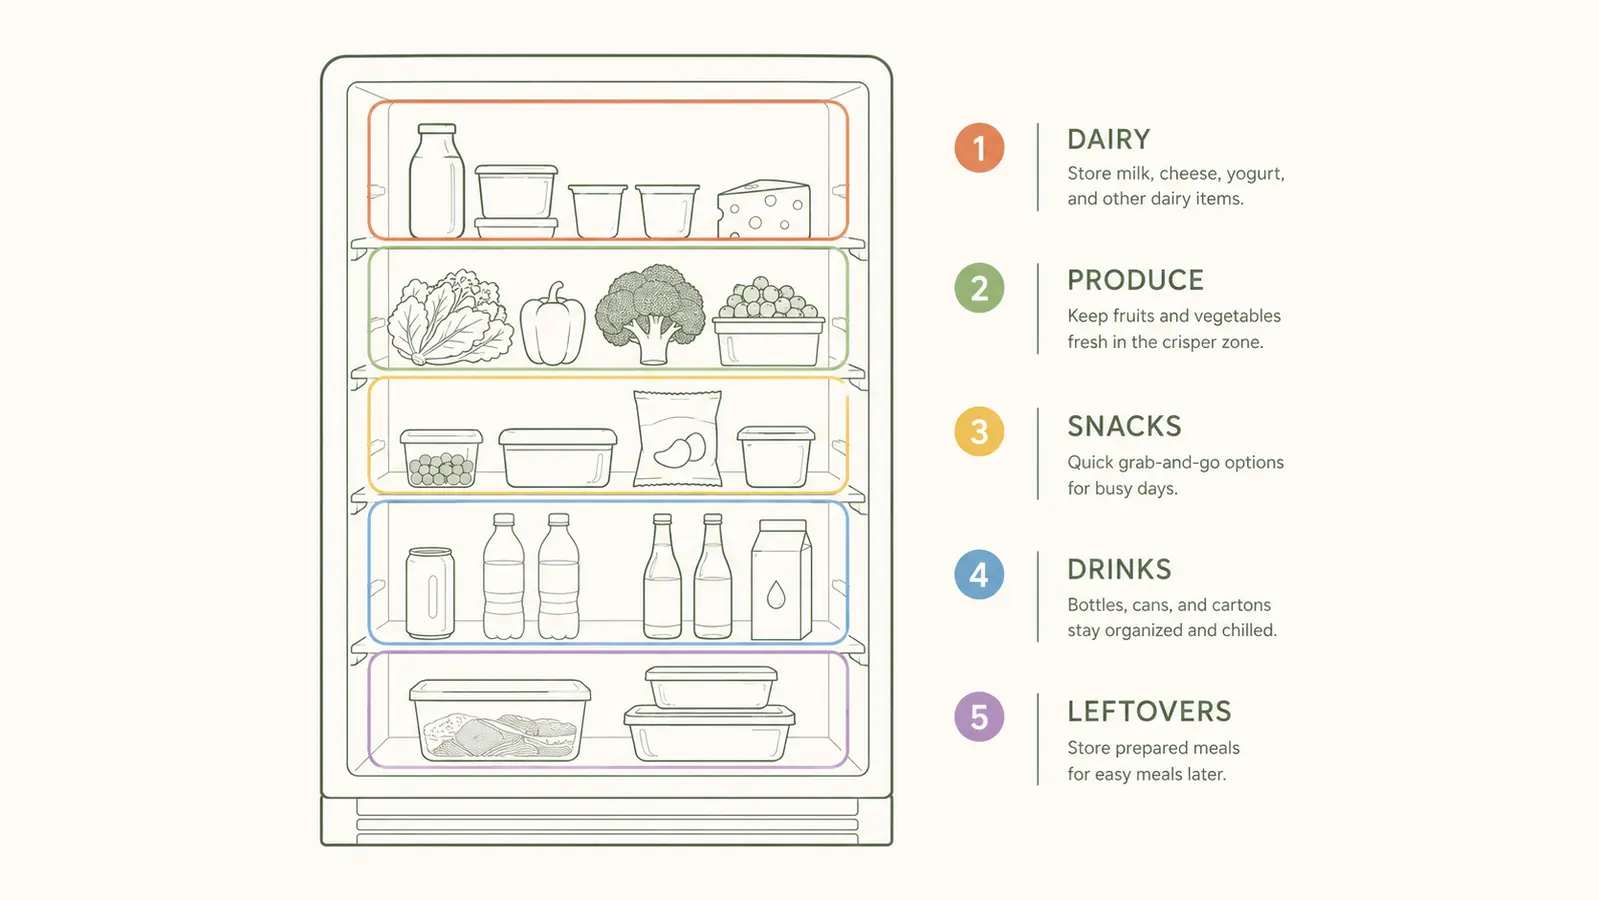
Step 3: Assign Each Shelf a Zone
The zone system is the heart of this method, and it is what separates a fridge that stays organized from one that slides back into chaos in two weeks. The idea is simple: every category of food has one assigned shelf or bin, and it never goes anywhere else. When someone puts the cream cheese in the drink zone by mistake, the cream cheese is wrong, not the system. The system becomes the correction.
Here is how I set up zones in most client refrigerators. Top shelf: grab-and-go snacks, prepped meals, and anything that needs to be eaten first (this is prime real estate and should have the most turnover). Middle shelf: dairy and eggs, because this is the most stable temperature zone in most fridges. Lower shelf: proteins and raw items in sealed containers. Drawers: one for produce, one for deli items. Door shelves: condiments, drinks, and butter. Adjust based on your household's actual eating patterns. A family with three kids who reach for snacks constantly needs a snack bin at a low, visible height. A couple who meal preps on Sundays needs prepped containers front-and-center on eye-level shelves.
Once you have your zones assigned, place one bin per zone and label it. I use a simple label maker or white adhesive labels and a marker for client fridges. The label goes on the front face of the bin where it is visible when the fridge is open. You do not need elaborate labels. "Snacks," "Leftovers," "Deli" are enough. The label is not really for you -- after a week you will know where things live. It is for everyone else in the household who puts groceries away.
Step 4: Load Everything Back In by Zone
Now you put everything back, but you put it back into its designated bin or zone, not just wherever it fits. This step is where the refrigerator bins do their actual work. An item that belongs in the snack bin goes into the snack bin. If the snack bin is overloaded, that tells you there are too many snacks in the fridge right now, which is useful information. You are not forcing things to fit. You are getting a clear picture of whether your quantity matches your storage.
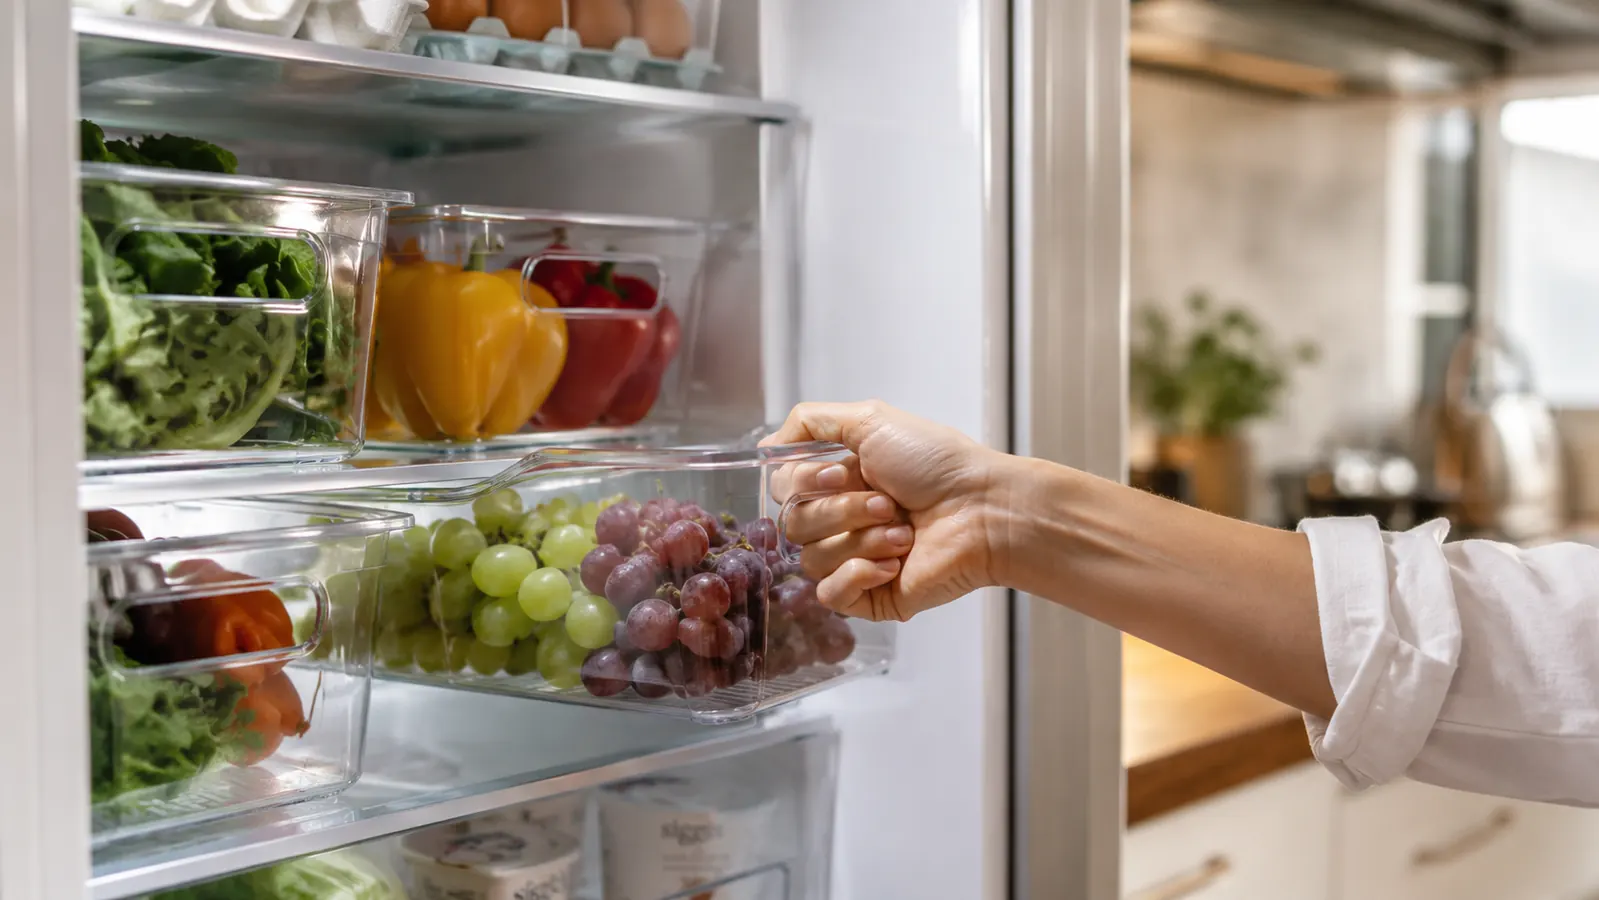
As you load, pull the bins toward you so you can see the back. One of the most common refrigerator problems is items getting pushed to the back of a shelf where they disappear and eventually go bad. With clear refrigerator bins, you pull the whole bin forward like a drawer to see everything in it. Nothing lives permanently in the back. This is the single most practical benefit of using structured fridge bins over bare shelves, and clients notice the food waste reduction within the first two weeks.
With clear fridge bins, you pull the whole bin forward like a drawer to see everything inside it. Nothing lives permanently in the back anymore, and the food waste drops almost immediately.
A word on the crisper drawers: most refrigerators have a high-humidity and a low-humidity drawer, and most households do not use them as labeled. Leafy greens, herbs, and vegetables that wilt go in the high-humidity drawer. Fruits and vegetables with their own natural moisture barrier, like peppers, cucumbers, and apples, go in the low-humidity drawer. If you have two produce drawers and a mixed household, one per category works well. The bins do not need to go inside the crisper drawers -- the drawers themselves are already a contained zone.
Step 5: Set a 10-Minute Weekly Reset
Every organized fridge I have ever set up for a client looks great the day I finish it. The ones that are still organized six months later are the ones where the household built in a weekly reset. It does not need to be elaborate. Before the next grocery run, take 10 minutes to pull each bin forward, toss anything expired or past its prime, wipe the bottom of any bin with drips, and consolidate the leftovers so you know what needs to be used this week.
This is also the moment to check your zones and make sure things ended up where they belong. If the kids keep putting juice boxes in the dairy bin, that is a signal to move the snack bin lower so it is at their reach. The system should adjust to your household, not the other way around. After two or three weeks of resets you will see the habits lock in and the reset itself will get shorter and shorter as everyone learns where things live.
The Utopia Home fridge bins are easy to clean during the weekly reset. They pull out entirely, so you can rinse them in the sink and set them on the drying rack for a few minutes before putting them back. That matters more than people expect: a bin you cannot clean eventually becomes a source of odors and bacteria, which defeats the whole purpose. Smooth clear plastic, no texture to trap food particles, and no lid to deal with makes this a one-minute task per bin.
What Else Helps Keep a Fridge Organized Long-Term
The bin zone system is the foundation, but a few other habits make it more effective. First, buy in smaller quantities if your household is small. A fridge packed to capacity with food that will not be used in time is not a full fridge -- it is a composting operation. A half-full fridge with clear zones is far more functional than a jam-packed one. Second, date your leftovers. Masking tape and a marker is all you need. I tell clients: if you have to open the container to remember what it is or when you made it, you are already playing a guessing game. A dated label on the outside of the container means you make the use-it-or-toss-it decision in two seconds. Third, do a quick visual scan every time you open the fridge. The clear bins make this almost effortless. You can see the snack bin is getting low, or that the leftover soup container has been in there since Monday, just by glancing. You do not need to move things to see what you have.
Internal linking: for a deeper look at how the Utopia Home fridge bins performed in real client homes over six months, including which drawer heights work best and what I would change, see the full review. And if you want to understand specifically how a fridge bin system reduces meal-prep time and grocery spending, the 10-reasons piece covers that in detail.
The refrigerator bins that make this whole system work are the same ones I use in every client kitchen.
Utopia Home's 8-pack clear stackable fridge organizer bins come in two sizes to cover every shelf. Pull-forward access means nothing gets lost in the back, and they rinse clean in under a minute.
Amazon Check Today's Price on Amazon -> →